Alright, let's talk sealcoating. It's one of those things folks often think is a simple, quick fix for their asphalt, and yeah, it can be. But I've seen more than my fair share of homeowners in Flagstaff make some pretty avoidable mistakes that end up costing them more time, money, and headaches down the road. You want your driveway to look good and last, right? So let's get into what you need to watch out for.
Mistake #1: Not Understanding What Sealcoating Actually Does (and Doesn't Do)
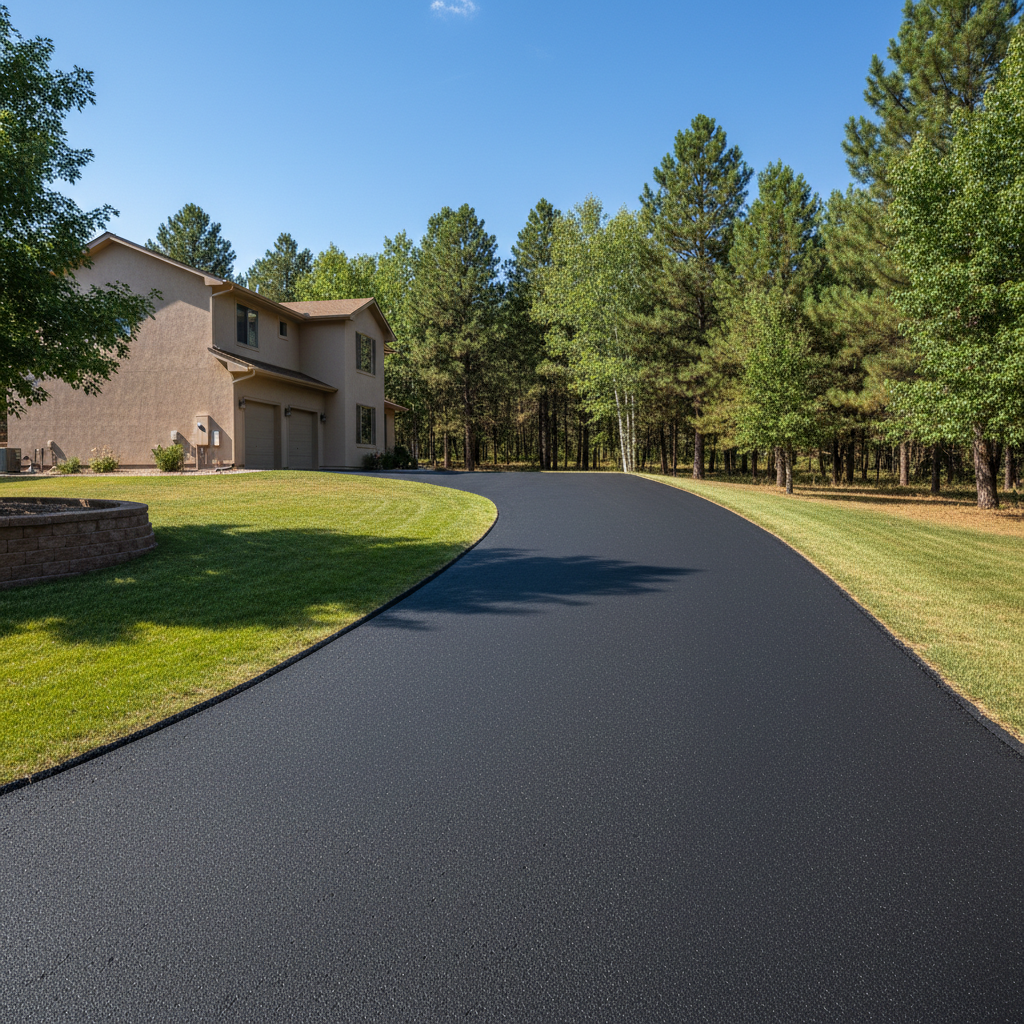
This is a big one. A lot of people think sealcoating is a miracle cure for all their asphalt problems. It's not. Sealcoating is a preventative measure. It's like sunscreen for your driveway. It protects against UV rays, water penetration, and spills, which helps slow down the natural aging process of your asphalt. It gives it a nice, uniform black finish, making it look new again.
What it doesn't do is fix cracks, fill potholes, or magically smooth out an already crumbling surface. If your driveway has significant cracking or structural issues, sealcoating over it is just putting lipstick on a pig. Those problems will show right through, and the sealcoat itself won't adhere properly or last. You need to address repairs before you even think about sealcoating. We see this all the time, especially with older driveways in places like the Cheshire neighborhood where folks just want to freshen things up without doing the necessary prep work.
Mistake #2: Choosing the Wrong Time of Year to Sealcoat
Flagstaff weather is, shall we say, unique. You can't just sealcoat whenever you feel like it. Temperature and moisture are critical. Sealcoat needs specific conditions to cure properly. If it's too cold, it won't cure. If it's too hot, it can cure too fast and crack. If it rains too soon after application, it can wash away or leave streaks. I've seen jobs where people tried to squeeze it in too late in the fall, and the first frost just ruined the whole thing.
Generally, you're looking for consistent temperatures above 50°F (and ideally 60°F+) for at least 24-48 hours after application, with no rain in the forecast. That usually means late spring, summer, or early fall here. Trying to rush it or ignoring the forecast is a recipe for disaster.
Mistake #3: Going for the Cheapest Bid (or DIYing with the Wrong Stuff)
Look, I get it. Everyone wants to save a buck. But when it comes to asphalt work, the cheapest bid is almost never the best bid. Some contractors cut corners by:
- Diluting the sealcoat too much with water to stretch it further.
- Not properly cleaning and prepping the surface.
- Using low-quality, cheap materials that won't last.
- Applying only one thin coat when two are usually needed.
You might save a hundred bucks upfront, but you'll be sealcoating again in a year or two, instead of getting three to five years out of a quality job. It's a false economy. Ask about their materials, their process, and how many coats they apply. A reputable company like Flagstaff Asphalt Construction will be happy to explain it all.
And for the DIYers out there, be careful. Those big box store sealcoat products often aren't professional-grade. They might look okay for a minute, but they don't have the same durability or protective qualities as what a pro uses. Plus, applying it evenly and correctly is harder than it looks, especially on a large driveway.
Mistake #4: Skipping the Prep Work (or Letting Your Contractor Skip It)
This goes hand-in-hand with the first few points, but it's so important it deserves its own mention. The quality of your sealcoat job is 90% in the preparation. If the surface isn't clean, the sealcoat won't stick. Period.
Before any sealcoat goes down, your driveway needs to be:
- Thoroughly cleaned: That means sweeping, blowing off all loose debris, dirt, and gravel.
- Edged: Get rid of any grass or weeds growing along the edges.
- Degreased: Oil spots need to be treated with a degreaser and scrubbed clean. Sealcoat won't adhere to oil.
- Cracks filled: All cracks over about 1/8 inch wide should be cleaned and filled with a hot-pour or cold-pour crack filler.
If a contractor shows up and just starts spraying without doing this grunt work, send 'em packing. They're not doing a proper job, and you'll be disappointed with the results.
Mistake #5: Not Asking About Curing Time and Traffic
Once the sealcoat is down, it's not ready for prime time immediately. It needs time to cure. Most sealcoats need at least 24-48 hours before you can walk on them, and 48-72 hours (or even longer in cooler, shadier spots) before you can drive on them. Trying to drive on it too soon will leave tire marks, scuffs, and can even peel the sealcoat right off. It's annoying to block off your driveway for a few days, but it's crucial for the longevity of the job.
So, there you have it. Sealcoating is a great way to protect your investment and keep your property looking sharp. Just make sure you're going into it with your eyes open, understanding what it takes to get a quality job done right the first time. Don't fall for these common traps, and you'll be much happier with your refreshed driveway.